Snowflake
This guide outlines the steps to create a Snowflake connection within Syntropic.
Required Permissions
The connection to Snowflake is established using a ROLE that has the necessary privileges. Syntropic requires this role to have USAGE privileges on the target WAREHOUSE, DATABASE, and SCHEMA, as well as CREATE TABLE on the SCHEMA and additional privileges on the tables .
You can grant the necessary permissions to the role you plan to use with Syntropic using the following:
-- Create a role for the syntropic user
CREATE ROLE SYNTROPIC_ROLE;

-- Grant syntropic role privileges to sysadmin role
-- (this does not grant sysadmin privileges to the syntropic role)
GRANT ROLE SYNTROPIC_ROLE TO ROLE SYSADMIN;

-- Grant usage on the warehouse
GRANT USAGE ON WAREHOUSE [your_warehouse] TO ROLE SYNTROPIC_ROLE;

-- Create the syntropic user
CREATE USER SYNTROPIC WITH DEFAULT_ROLE = SYNTROPIC_ROLE DEFAULT_WAREHOUSE = [your_warehouse] PASSWORD = '<strong password>';
GRANT ROLE SYNTROPIC_ROLE TO USER SYNTROPIC;

-- Grant usage privileges on the database and schema
GRANT USAGE ON DATABASE [your_database] TO ROLE SYNTROPIC_ROLE;
GRANT USAGE ON SCHEMA [your_database].[your_schema] TO ROLE SYNTROPIC_ROLE;

-- Grant CREATE TABLE privilege on the schema
GRANT CREATE TABLE ON SCHEMA [your_database].[your_schema] TO ROLE SYNTROPIC_ROLE;

-- Grant ownership on all tables in the schema
-- This allows your Syntropic role to rename, drop, and alter tables within the schema
-- If you don't need these capabilities, you can just grant select, insert, update, delete privileges
GRANT OWNERSHIP ON ALL TABLES IN SCHEMA [your_database].[your_schema] TO ROLE SYNTROPIC_ROLE;
GRANT OWNERSHIP ON FUTURE TABLES IN SCHEMA [your_database].[your_schema] TO ROLE SYNTROPIC_ROLE;
Creating a New Snowflake Connection
-
Navigate to the Connections page from the main sidebar.
-
Click the New Connection button located in the top right corner.
-
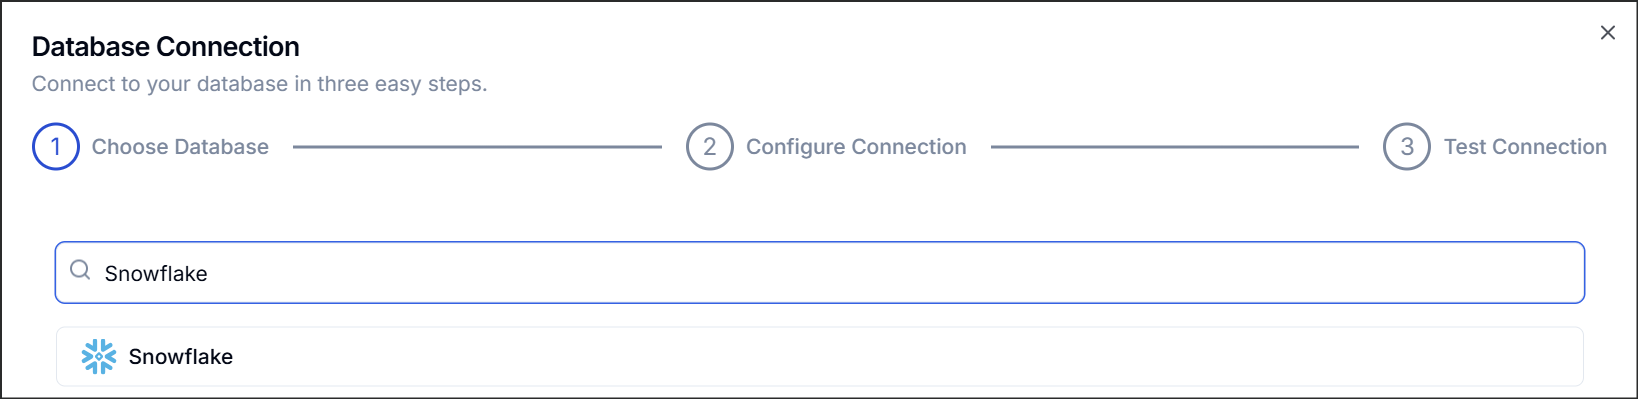
Find and select Snowflake from the list of available connection types.
Configuring the Connection
You will need to provide the following details for your Snowflake instance:
-
Name: Provide a descriptive name for this connection for easy identification within Syntropic.
-
Connection Details:
-
Account Identifier: Enter your Snowflake account identifier. This can be found by clicking on your account name in the bottom left corner of the Snowflake web interface, and selecting "Connect a tool to Snowflake".
You can also find this by running
SELECT CURRENT_ORGANIZATION_NAME() || '-' || CURRENT_ACCOUNT_NAME();in Snowflake. -
Username: The Snowflake username for the connection.
-
Warehouse: Specify the virtual warehouse to use. Snowflake defaults to
COMPUTE_WH. -
Database: Specify the database to use.
-
Schema: Specify the schema to use within the selected database.
-
Authentication: currently only password is supported, but we will be adding support for key-pair auth in the future.
- Password: The password for the specified Snowflake user. Note this authentication method will begin to be blocked in May 2026.
-
Finalizing
- Once all details are entered, click Connect and Syntropic will verify the connection to your Snowflake instance using the provided credentials.